
Three maintenance actions for forged metal seated valves: visual inspection every 6 months, pneumatic seat seal test annually, stem packing replacement every 3 years—doing these three extends valve service life by 3–5.
Valve Coating Tips
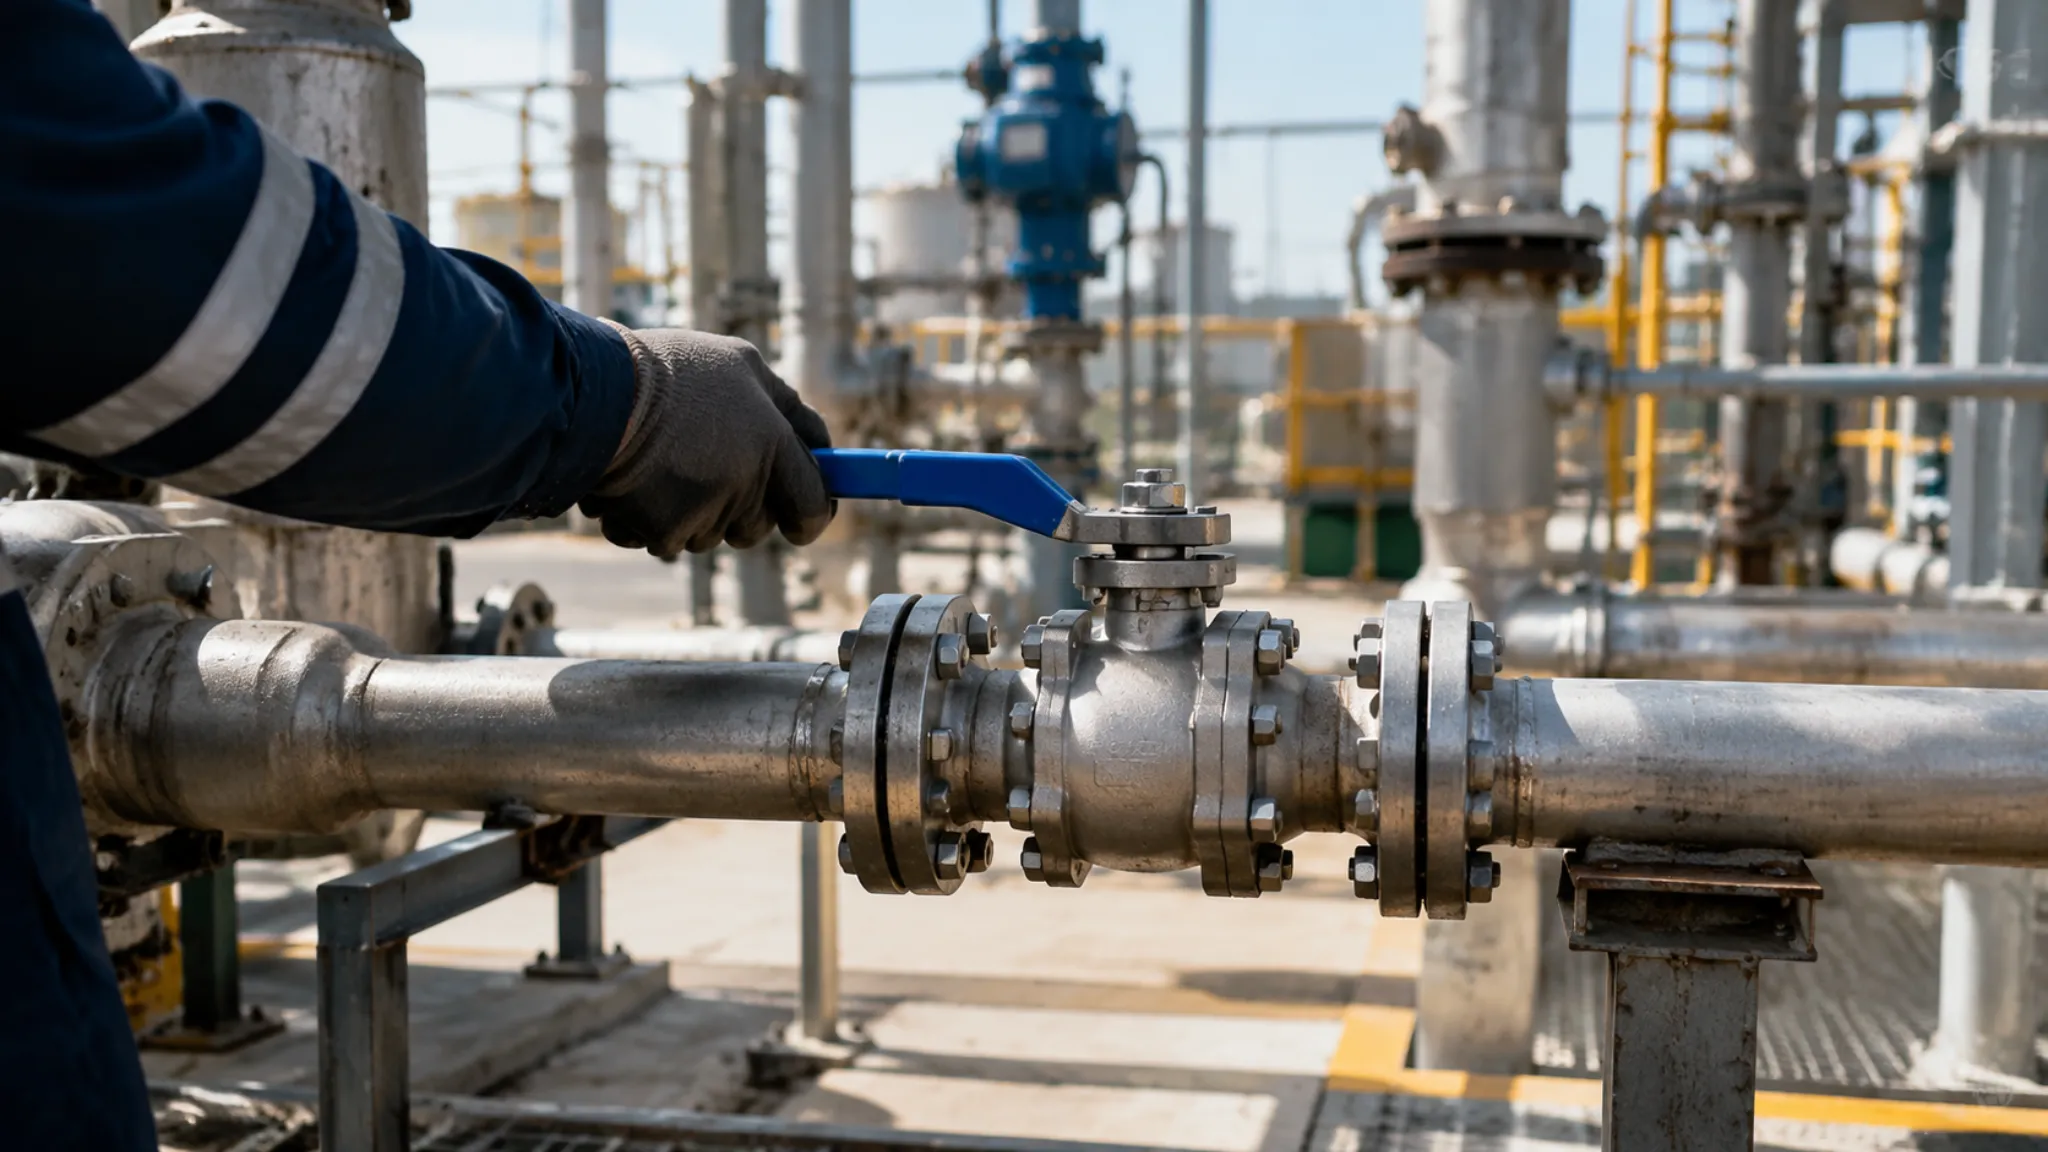
Checking For Wear
The first step in metal seated valve wear inspection is establishing baseline data—measure the seat sealing face Ra value with a profilometer and photograph it before startup. This is the only reference for judging subsequent wear progression. Without baseline data, any judgment of “is the seat worn” is subjective guesswork. At a coal chemical plant, I observed a batch of valves that after 2 years of service showed visible scratches on the seat surface, but the manufacturer refused to acknowledge wear out-of-spec because “no baseline data for comparison.” The owner ultimately had to judge by the experience-based standard “visible scratches equals replacement”—causing significant unnecessary replacement costs. If photographs and Ra values had been recorded at startup, the judgment would have been straightforward.
Seat baseline data management is the first step in valve lifecycle management—after establishing the baseline, every inspection should include photography and Ra measurement compared against the baseline. At a petrochemical enterprise, I implemented a practice where every new valve required 10 standard photographs at startup (seat: 4 angles, ball: 4 angles, stem: 2 angles) in an electronic archive, with each inspection item compared against the baseline. After 1 year of implementation, unplanned shutdown delays caused by valve wear misdiagnosis dropped from an average of 3 per year to zero.
| Inspection Item | Frequency | Judgment Standard | Action |
|---|---|---|---|
| Seat sealing face visual | Every 6 months | No through scratches, no spalling | Photograph vs baseline |
| Seat Ra value measurement | Every 12 months | Ra ≤ 0.2 µm | Grind if exceeded |
| Ball surface hardness | Every 24 months | No significant reduction (HRC ≥ 38) | Replace if necessary |
| Stem packing compression force | Every 12 months | Torque within ±15% of initial | Re-compress or replace packing |
When visual inspection finds minor scratches on the seat surface, do not rush to replace—examine under 10× magnification: if scratch depth is shallow (has not penetrated the seat hardened layer, approximately 0.1 mm), and the seat Ra value remains within 0.2 µm, it can continue in service; if the scratch has exposed base metal (silver-white metallic luster), the seat must be replaced. At a residual oil hydrotreating unit, I performed online inspection on valves that had operated for 5 years using a borescope plus industrial lens, finding that most seat minor scratches were only 0.05–0.1 mm deep—well below the hardened layer depth of 0.5 mm. This batch of valves operated an additional 18 months before replacement, avoiding premature replacement losses.
Choosing Hard Coatings
The consequence of selecting the wrong hard coating is seat failure within the first operating cycle—this is a selection error, not a quality defect. A coal chemical plant used Stellite 6 seats for high-temperature high-sulfur coal liquefaction products; sulfide corrosion caused preferential corrosion of the Stellite 6 cobalt matrix, with seat failure in 3 months. After switching to Inconel 625, the valves operated normally for over 3 years. Coating selection must use the medium as the primary input parameter—never temperature.
Hard coating selection for metal seated valves is not about material price—it is about matching the operating conditions. The cost of choosing the wrong coating is seat failure within the first operating cycle. The selection logic for hard alloy coatings is straightforward: cobalt-based alloys (Stellite series) offer wear resistance and self-sharpening but general corrosion resistance; nickel-based alloys (Inconel series) offer corrosion resistance and wear resistance but at higher cost; chromium-based coatings are inexpensive but have poor high-temperature performance. Coal chemical slurry with solid catalyst particles: use Tribaloy T-800; refinery high-temperature regenerator conditions: use Stellite 6; hydrogen sulfide corrosion conditions: use Inconel 625—these are the coating selection benchmarks for the three most typical scenarios.
- Stellite 6 (Co-Cr-W): wear resistance + self-sharpening effect, optimal wear resistance below 650°C, suitable for fluid catalytic cracking high-temperature regenerators and delayed coking where wear is the primary concern
- Stellite 12 (Co-Cr-W): wear resistance superior to Stellite 6 but high-temperature hardness retention slightly lower, suitable for solid particle erosion combined with medium temperature (≤ 550°C) conditions
- Inconel 625 (Ni-Cr-Mo): corrosion resistance + high temperature resistance (850°C), suitable for hydrotreater reactor inlet/outlet, H₂S-rich strong corrosive media, and coal direct liquefaction high-temperature high-pressure slurry
- Tribaloy T-800 (Co-Cr-Mo-Si): optimal high-temperature wear resistance, hardness retained to 700°C, suitable for coal chemical slurry circulation and oil sands slurry conditions with high wear
| Coating Type | Max Temp | Typical Hardness | Recommended Process | Service Application |
|---|---|---|---|---|
| Stellite 6 overlay | 650°C | HRC 35-40 | GTAW/TIG | Catalytic cracking, delayed coking |
| Inconel 625 overlay | 850°C | HRC 25-30 (aged) | GTAW/TIG | Hydrogenic, high-temp corrosion |
| HVOF chromium carbide | 480°C | HRC 65-70 | HVOF | Erosion-dominated wear |
| Tribaloy T-800 overlay | 700°C | HRC 50-55 | GTAW/TIG | High-wear slurry service |
Coating thickness is not “the thicker the better”—Stellite overlay exceeding 3 mm causes thermal stress leading to crack propagation; Inconel 625 plasma spray coating exceeding 0.5 mm shows significantly reduced bond strength. Correct coating thickness ranges: Stellite overlay 1.5–2.5 mm, Inconel 625 overlay 1.0–2.0 mm, HVOF thermal spray coating 0.15–0.3 mm (chromium carbide or tungsten carbide). HVOF (High Velocity Oxy-Fuel) coating bond strength can reach above 70 MPa—3× that of conventional plasma spray—for combined corrosion-wear conditions, HVOF is the preferred process.
Fixing Surface Damage
Seat surface damage repair strategy depends on damage type and depth—minor scratches can be ground on site, deep scratches require disassembly and repair, and severe spalling means seat replacement only. The critical standard for determining whether repair is worthwhile: damage depth < 0.3 mm and base metal not exposed = repair; damage depth ≥ 0.3 mm or base metal exposed = replace seat. At a fluid catalytic cracking unit, I handled a batch of seat damage cases—after 18 months of operation, visual inspection found dense scratches on the seat surface, with maximum depth measured by micrometer at approximately 0.25 mm, with no base metal exposure visible. The decision was made to repair. After grinding, Ra value recovered to 0.15 µm, and the valves continued operating for 36 months before normal retirement—this repair decision saved approximately CNY 150,000 in seat replacement costs with zero schedule delay (grinding was performed while the unit remained in operation).
Seat grinding repair must use grinding paste matched to the seat material—Stellite seats use silicon carbide grinding paste (green), Inconel 625 seats use aluminum oxide grinding paste (white), Tribaloy seats use diamond grinding paste (paste form). Incorrect grinding paste selection causes new scratches on the seat surface and may even alter seat hardness distribution, achieving the opposite of the intended result. At a coal chemical plant, I observed a case of seat scrapping caused by using the wrong grinding paste: operators used green silicon carbide grinding paste on Inconel 625 seats, resulting in hard abrasive particles from the grinding paste embedding into the seat surface, forming new hard spots—these seats were scrapped within 3 months of restart due to sealing face scratches caused by the hard spots.
Ball surface damage repair differs from seat repair—ball damage can typically only be replaced, not ground on site. This is because the ball is a precision spherical surface, and any uneven grinding alters spherical accuracy, causing uneven sealing. Additionally, ball grinding requires a dedicated ball grinding machine (precision requirement: 0.01 mm level), which is not available on site. Stem damage (scratches, indentations) can also only be replaced; once the stem hard chromium layer is damaged, repair is not possible.
Valve Leak Testing
Basic Pressure Tests
Pressure testing of metal seated valves is the only means to verify valve pressure-bearing capacity—if you do not test, you do not know whether the valve is actually safe at design pressure. API 598 specifies standard pressure test procedures for valves, but metal seated valve testing methods differ fundamentally from soft seated valves: soft seated valves test seat sealability with hydrostatic or pneumatic pressure, while metal seated valves—because seat grinding may have slight initial leakage—must use nitrogen or helium for gas seal testing, with a small allowable leakage rate during the test pressure (bubble test, ≤ 10 bubbles/minute for Class IV qualification).
- Body strength test: hydrostatic pressure at 1.5× design pressure, hold for 30 minutes, no leakage = pass—this is an API 598 requirement and must be performed
- Seat seal test: pneumatic pressure 0.4–0.7 MPa (nitrogen), underwater bubble method, Class IV ≤ 10 bubbles/minute, Class V ≤ 1 bubble/minute, Class VI per ISO 15848, no leakage = pass
- Stem seal test: pneumatic pressure 0.4–0.7 MPa, hold for 5 minutes, no visible leakage at stem packing = pass
- High-temperature high-pressure combined test: under hot conditions (close to design temperature) apply pressure, used to verify seal reliability of Inconel 625 and other high-temperature alloy seats under hot operating conditions
| Test Type | Pressure Value | Hold Time | Acceptance Standard |
|---|---|---|---|
| Body strength test | 1.5× design pressure | 30 minutes | No leakage |
| Seat seal test | 0.4–0.7 MPa (nitrogen) | Per ISO 15848 | Class IV ≤ 10 bubbles/min |
| Stem packing test | 0.4–0.7 MPa | 5 minutes | No visible leakage |
| Hot combined test | Design pressure × 1.1 | 30 minutes | No leakage under hot conditions |
Pre-test temperature conditioning must be confirmed before pressure testing—thermal shock causes additional thermal stress in metal seated valves, and in severe cases can cause body or bonnet seal face deformation. At an ethylene plant startup, I observed an incident: to meet the schedule, operators performed a high-temperature high-pressure test on a Class 900 ball valve before the pipeline was fully preheated—the bonnet seal gasket collapsed under hot conditions, delaying startup by 3 days. Both API 598 and API 6D explicitly require: metal seated valves must undergo final seal testing at temperatures close to operating temperature; cold test results are for reference only.
Finding Seat Leaks
Seat internal leakage is the most common failure mode of metal seated valves—internal leakage does not mean the valve is broken; in most cases it is caused by seat sealing face wear out-of-round or being pushed open (by solid particles). Internal leakage diagnosis proceeds in three steps: Step 1, determine whether it is seat internal leakage or stem packing external leakage (stem area leakage = packing problem, body-side leakage = seat problem); Step 2, use bubble testing to confirm the leakage magnitude; Step 3, decide on treatment based on leakage rate. At a natural gas pipeline pressure regulation station, I handled a DN100 Class 600 metal seated ball valve with internal leakage—after valve closure, upstream and downstream pressure gauges were still slowly equalizing, suspected seat internal leakage. Nitrogen bubble test was performed, with leakage rate approximately 30 bubbles/minute (3× Class IV limit). Borescope inspection found an approximately 8 mm long, 0.2 mm wide through-scratch on the seat sealing face, diagnosed as solid particle wedge damage. Since scratch depth was only 0.15 mm (hardened layer 0.8 mm), online grinding repair was decided—after grinding, leakage rate dropped to 3 bubbles/minute, and the valve operated normally for 2 more years before normal retirement.
- Seat internal leakage judgment: after valve closure, observe whether upstream and downstream pressure continue to equalize—if equalizing, it is seat internal leakage; alternatively, use infrared thermal imaging to observe body temperature distribution, and the leakage point will show abnormal temperature
- Leakage magnitude confirmation: nitrogen bubble test, Class IV (≤ 10 bubbles/minute), Class V (≤ 1 bubble/minute), Class VI (ISO 15848 zero-leakage standard)
- Leakage cause diagnosis: borescope inspection of seat sealing face, scratch depth measurement, determine whether it is wear out-of-round or solid particle wedge damage
- Treatment decision: if leakage rate ≤ Class IV limit and seat scratch depth < 1/2 of hardened layer, continue monitoring; if exceeding limits, disassemble for repair or replace seat
Checking Seal Quality
Seat sealing quality is ultimately verified by low-temperature pneumatic testing—metal seated valves under low-temperature conditions (≤ −29°C, for LNG service) may experience reduced sealing force due to material contraction, requiring low-temperature seal testing. API 598 does not mandate low-temperature testing for metal seated valves, but API 6D and API 623 explicitly require: valves for LNG and other cryogenic media must undergo −196°C low-temperature testing. The judgment standard for low-temperature testing differs from room temperature: metal seated valve cryogenic sealing relies on the cryogenic contraction compensation of seat material, not spring preload—and Stellite 6 cryogenic contraction rate at −196°C is approximately 0.2%, which actually helps increase seal specific pressure.
API 598 2020 edition added a revision for metal seated valve seal testing: explicitly increasing the metal seated valve leakage rate upper limit by 20%, on the grounds that the metal seat sealing mechanism differs from soft seats—metal seat sealing relies on precision-ground metal-to-metal contact, while soft seat sealing relies on elastic material deformation rebound, and the leakage characteristics of the two are not measured by the same standard. This revision is significant good news for the metal seated valve industry—it formally acknowledges that the higher leakage rate of metal seated valves compared to soft seats is a normal phenomenon, not a quality defect. At an LNG terminal, I saw the owner accept this revised standard, lowering the metal seated valve bubble test standard from Class VI to Class V (≤ 1 bubble/minute), saving the manufacturer significant seat grinding labor hours.
- Seal contact ratio inspection standard: Prussian Blue or red lead detection, metal-to-metal seal contact ratio ≥ 75% = qualified, below 75% requires re-grinding
In addition to low-temperature testing, there is an often-overlooked seal quality inspection point: the seat-to-ball contact ratio inspection after seat grinding. After seat grinding, Prussian Blue (PB) or red lead powder must be used to check the seat-to-ball contact ratio—the correct metal-to-metal contact ratio should be ≥ 75% (meaning ≥ 75% of the seat sealing face area actually contacts the ball). Contact ratio below 75% indicates insufficient seat grinding precision— even if short-term sealing is acceptable, long-term operation will cause wear failure due to localized stress concentration. Contact ratio inspection is the final verification of grinding quality and cannot be omitted.
Repair and Upkeep
Cleaning Internal Parts
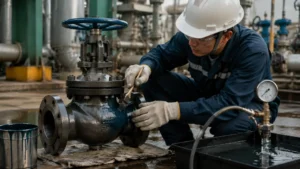
Internal parts cleaning for metal seated valves is entirely different from soft seated valves—soft seated valves prohibit metal brushes and solvents on the seat, while metal seated valves require the opposite: thorough removal of solid particle deposits from seat and ball surfaces. Residual solid particles on the seat sealing face are the primary wear source for metal seated valves: even with very hard Stellite 6 seats, solid catalyst particles (hardness up to HV 800+) adhered to the surface cause fretting wear during every valve operation. During routine turnaround at a refinery catalytic cracking unit, I disassembled a batch of valves that had operated for 24 months, finding a layer of approximately 0.1–0.2 mm of catalyst powder adhered to the seat sealing face—this powder layer filled the gap between seat and ball during valve closure, and every opening and closing was an abrasion event.
| Part | Cleaning Method | Precautions |
|---|---|---|
| Seat sealing face | Copper wire brush + aviation washing gasoline (or acetone) | Steel brushes prohibited—will damage hard alloy layer |
| Ball surface | Aviation washing gasoline + soft cloth, wooden scraper if necessary | Metal scrapers prohibited—will damage spherical accuracy |
| Stem | Aviation washing gasoline + soft cloth | Check hard chromium layer integrity |
| Valve body interior | High-pressure water jet or steam purge | Verify drain port is clear |
| Bonnet seal gasket | Replace (do not reuse) | Graphite-reinforced gasket is single-use |
After seat cleaning, protective treatment must be applied immediately—apply a layer of rust inhibitor (thinned with aviation washing gasoline) to the seat surface to prevent rusting during storage. The original protective oil applied to the seat during manufacturing must be thoroughly cleaned before valve installation; otherwise, residual protective oil generates instantaneous high temperature during the first valve operation, aggravating wear. This detail is clearly specified in API 608 and API 6D but is often overlooked in actual maintenance—I have seen multiple cases of increased seat wear during initial operation due to residual protective oil not being cleaned.
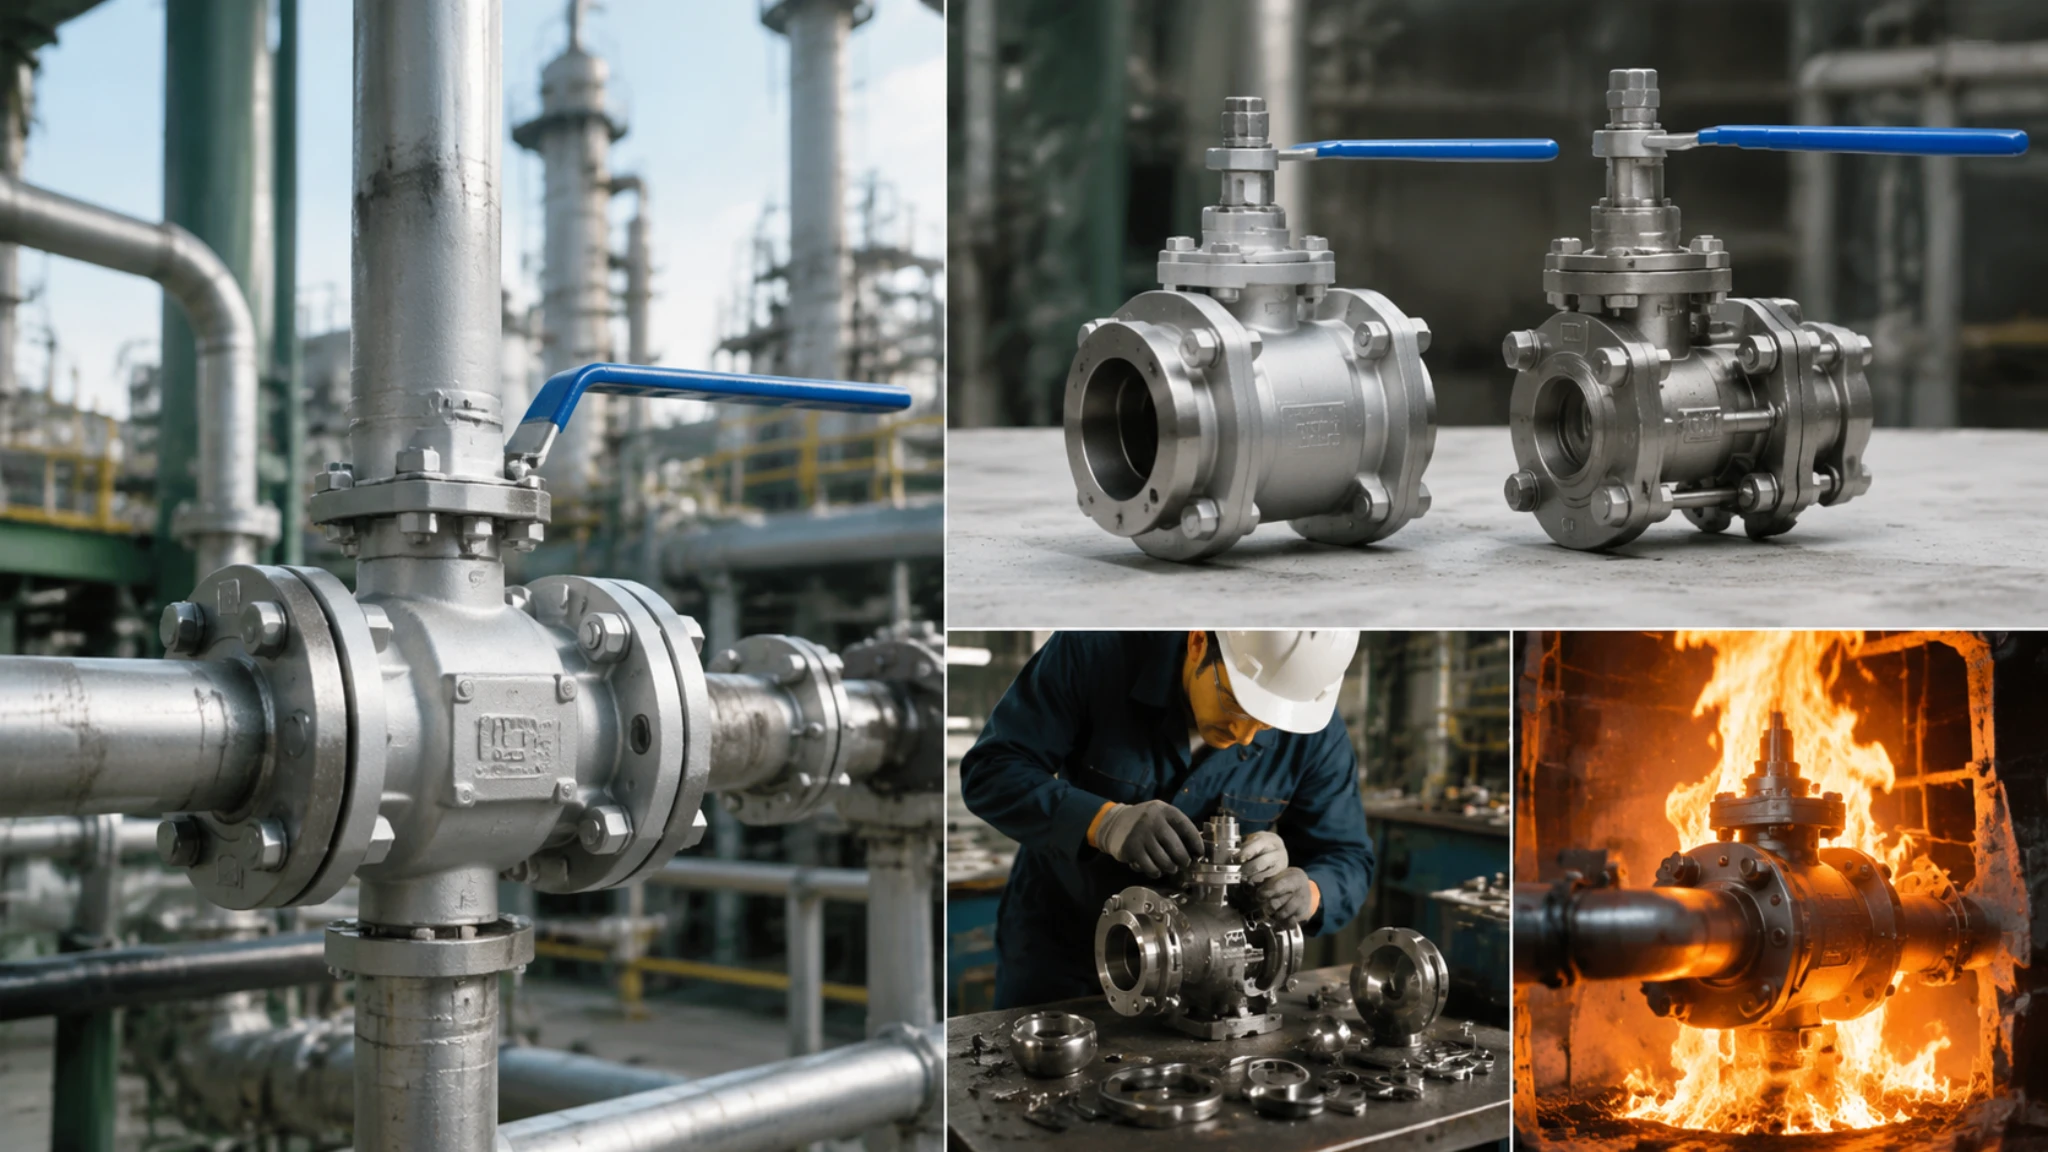
Replacing Worn Seats
Seat replacement is the most critical maintenance procedure for metal seated valves—incorrect replacement process causes the new seat to fail faster than the old one. Core process requirement for seat replacement: the seat must be pressed into the valve body seat bore by interference fit (Interference Fit), and threaded fixation or adhesive bonding are not permitted. Interference fit tolerance is typically seat OD × 0.001–0.002 (for example, a seat with 50 mm OD has interference of 50–100 µm). Insufficient interference causes the seat to eject under high pressure; excessive interference causes the seat to deform under excessive press force—both are serious safety hazards.
- Old seat removal: use dedicated seat pull-out tool, striking is strictly prohibited—striking causes valve body seat bore deformation, which is extremely difficult to repair
- Valve body seat bore inspection: bore diameter, roundness, and roughness measurement, confirm bore is undamaged; bore diameter out of tolerance requires repair
- New seat selection: select interference based on measured bore size, Stellite seat interference 0.05–0.1 mm, Inconel 625 seat interference 0.03–0.08 mm
- Seat pressing: use hydraulic or mechanical pressing equipment, press speed ≤ 5 mm/s—too fast causes seat tilt or micro-cracks in valve body seat bore
- Post-press inspection: measure seat end face height, confirm seat has no offset; grind seat to design Ra value (typically ≤ 0.2 µm)
| Interference Type | Seat OD Range | Recommended Interference | Risk |
|---|---|---|---|
| Stellite seat | DN15–DN50 | 0.05–0.08 mm | Too small → blow-off |
| Stellite seat | DN65–DN150 | 0.08–0.10 mm | Too large → deformation |
| Inconel 625 seat | DN15–DN150 | 0.03–0.08 mm | Requires precise measurement |
Immediately after seat replacement, gas seal testing must be performed—confirm the new seat sealing meets standards. API 598 specifies that after seat replacement, the first seal test pressure is 1.1× design pressure, hold for 30 minutes, no leakage = pass. But more importantly: the new seat must be closely monitored during the first 48 hours after startup—observe whether there are abnormal noises (metallic impact sounds indicate the seat may be moving under high pressure) or increasing leakage.
Regular Maintenance Steps
- Every 6 months: visual inspection for stem packing leakage, abnormal body surface corrosion or erosion traces, manual valve operating torque normal
- Every 12 months: seat bubble test (nitrogen 0.4–0.7 MPa, underwater method, Class IV standard ≤ 10 bubbles/minute), stem packing compression force check, body surface anti-corrosion coating inspection
- Every 24 months: seat sealing face Ra value measurement (compared to baseline), ball surface hardness inspection, stem hard chromium layer thickness measurement
- Every 36 months (or per MTBF data): full disassembly inspection + seat replacement + complete packing replacement + complete seal gasket replacement + gas seal testing
Maintenance records are the core data of valve lifecycle management—every maintenance record should include: valve tag number, installation location, operating time, cumulative cycle count, maintenance content, maintenance personnel, maintenance date, and test data (including Ra values, bubble rates, press-fit interference measurements, and other quantitative data). Maintenance without records is maintenance that was not performed. During an offshore oil and gas platform audit, I reviewed maintenance records for a batch of valves—finding that at least 30% of valve maintenance records were missing, making it impossible to determine which valves had exceeded their design maintenance intervals and were still in operation. This issue later triggered a special rectification requiring all valve maintenance records to be archived electronically, with maintenance record completeness rate incorporated into equipment integrity assessment indicators.
Acceptance after maintenance must include functional testing—not just seal testing, but also: valve full-open and full-close operation without jamming, operating torque within rated range, and limit switch matching actual position. Only after passing all acceptance items is maintenance considered complete. Any item that fails means maintenance is incomplete—the valve cannot be put into service with hidden hazards.
Three maintenance red lines: seat Ra value exceeding 0.3 µm—no startup; seat press-fit interference out of specification—no startup; maintenance records missing—no acceptance closure—crossing any one of these is a safety hazard.


")