
A few years ago, I was on a platform in the North Sea where a 16-inch Class 900 trunnion ball valve had developed a seat leak. The valve was a side entry design with a bolted two-piece body. The leak had been caught during a routine quarterly cavity vent check – pressure was building in the valve body cavity when it shouldn’t have been, which meant at least one seat was letting gas past the ball.
Normally, fixing a seat leak on a valve that size means cutting the valve out of the line and shipping it to a workshop, which means a shutdown that costs hundreds of thousands of dollars a day. But because this valve was a side entry design, the maintenance crew was able to unbolt the body flange, remove the entire internal assembly – ball, seats, stem, everything – and replace the seats with the valve body still welded into the pipeline. Total downtime from isolation to back in service: 14 hours. The alternative – cutting out a welded-body valve and replacing it – would have been five to seven days. That’s why side entry exists.
Side entry ball valves aren’t talked about as much as floating and trunnion designs, but the body construction style matters as much as the ball support mechanism. The side entry design is the dominant body style for pipeline ball valves above about 4 inches, and the reason is simple: maintainability.
Here’s how it works, what the options are, and when it’s the right choice.

What a side entry ball valve actually is
A side entry ball valve has a body that splits into two or three pieces along a plane perpendicular to the pipe axis. The ball, seats, stem, and all internal components are installed from the side – that is, from one end of the valve body – and then the body pieces are bolted together to form the pressure-containing envelope. The split plane goes through the ball cavity, so when you unbolt the body and separate the pieces, you have direct access to the ball, both seats, and the stem.
This is completely different from a top entry valve, where the bonnet comes off the top and the internals are removed through the top of the body without disturbing the pipeline connections. Top entry exists for the same reason – maintainability without cutting the valve out of the line – but it requires vertical clearance above the valve and a heavier, more expensive body casting. Side entry is simpler, cheaper, and easier to manufacture, which is why it’s the default body style for the vast majority of API 6D pipeline ball valves from NPS 2 to NPS 48. Side entry ball valves in two-piece and three-piece bolted configurations cover the entire range of pipeline valve applications from Class 150 to Class 2500.
The gasket between the body pieces is the critical sealing element in a side entry valve. It has to contain the full line pressure without leaking, survive temperature cycles that expand and contract the body at different rates from the bolting, and maintain its seal for decades without replacement. The three most common gasket types are:
- Spiral-wound stainless steel with graphite filler for general service
- Ring-type joint metal gaskets for Class 900 and above
- Pressure-energized lip seals for applications where fire-safe certification requires a graphite seal that won’t burn out
If the body gasket fails, the valve leaks to atmosphere at the split line, and the repair requires depressurizing the line and re-torquing or replacing the gasket. This is rare on a properly assembled valve, but it’s the one failure mode that a side entry valve has that a welded-body valve doesn’t.
Two-piece vs three-piece bolted construction
Side entry ball valves come in two-piece and three-piece configurations, and the difference affects both cost and maintainability.
Two-piece design
A two-piece side entry valve has one body piece that contains the upstream connection and half the ball cavity, and a second piece that contains the downstream connection and the other half of the ball cavity. The two pieces bolt together with a single gasket between them. The ball, seats, and stem are assembled into one body half, the gasket is placed, and the second body half is bolted on. This is the simplest and cheapest side entry configuration. It’s the standard for pipeline valves from NPS 2 to NPS 24 in Class 150 through 900.
The limitation of a two-piece design is that to remove the internals, you have to completely separate the two body halves, which means you need enough axial clearance to pull one body half back by at least the length of the ball assembly. On a 16-inch valve, that’s about 18 to 24 inches of axial movement. In a tightly packed pipe rack, that clearance might not exist. If the valve is between two fixed flanges with nowhere to move the pipe, a two-piece body can’t be serviced in place – you have to cut it out.
Three-piece design
A three-piece side entry valve solves this with a center body section that contains the ball and seats, and two end connectors that remain bolted to the pipeline. To service the valve, you unbolt the end connectors from the center body, spread them apart just enough to extract the center body section – typically 6 to 8 inches of movement – and pull the entire ball and seat assembly out with the center body. The end connectors stay attached to the pipe. This requires far less axial clearance than a two-piece design and is standard for valves that are expected to need in-line maintenance, such as refinery isolation valves and compressor station valves.
The tradeoff is that three-piece valves cost about 20-30% more than equivalent two-piece valves because they have more machined parts, more bolting, and an additional gasket. They’re also heavier because the center body section has to be thick enough to handle the full bolting load from both end connectors. A 12-inch Class 600 three-piece trunnion valve typically weighs about 15-20% more than the two-piece version. Trunnion mounted side entry ball valves in pipeline sizes above 12 inches are almost always two-piece because the weight penalty of the three-piece design becomes prohibitive at large sizes, and the axial clearance for in-line maintenance of a two-piece body on a 20-inch valve would require moving several tons of pipe.
| Feature | Two-Piece | Three-Piece |
|---|---|---|
| Cost | Baseline (cheaper) | 20-30% more |
| Weight (12″ Class 600) | Lighter | 15-20% heavier |
| Axial clearance needed for in-line service | 18-24 inches (16″ valve) | 6-8 inches |
| In-line maintainability | Limited (needs pipe movement) | Good (end connectors stay in pipe) |
| Typical application | Standard pipeline isolation (NPS 2-24, Class 150-900) | Refinery, compressor station, aggressive service |
Side entry vs top entry vs welded body
The choice between side entry, top entry, and welded body construction depends on three factors: maintainability, space constraints, and cost.
| Body Style | Maintainability | Space Requirements | Cost Premium vs Side Entry | Typical Use |
|---|---|---|---|---|
| Side entry | Good (serviceable in-line with axial clearance) | Axial clearance needed | Baseline | Above-ground pipelines, most API 6D valves |
| Top entry | Good (serviceable in-line with vertical clearance) | Vertical clearance needed; no axial needed | 30-50% more | Offshore pipe racks, tight horizontal spaces |
| Welded body | None (must be cut out and replaced) | No access needed during service life | 50-100% more | Subsea, buried, inaccessible installations |
Side entry is the default. It’s been the industry standard for pipeline valves since the 1960s. The manufacturing process is well-established, the bolting and gasket designs are proven, and every valve service company knows how to disassemble and reassemble a two-piece side entry valve. For most applications, there’s no reason to choose anything else. API 6D ball valve manufacturers produce side entry as their primary body style because it’s what the market expects.
Top entry exists for installations where there’s no axial clearance to spread a side entry body, but there’s vertical clearance above the valve. This is common in offshore platform pipe racks where valves are packed tight horizontally but there’s open space above. A top entry valve has a bonnet that unbolts from the top of the body, and the ball, seats, and stem are lifted out vertically. The body forging or casting is heavier and more expensive because it has to accommodate the bonnet flange and the internal cavity has to be large enough to extract the ball assembly. Top entry valves typically cost 30-50% more than side entry valves of the same size and class.
Top entry also has a sealing challenge that side entry doesn’t: the bonnet gasket sees a pressure-energized seal that depends on the bolting preload being correct and uniform. If the bonnet bolts aren’t torqued evenly, the gasket compresses unevenly and leaks on the first pressure cycle. Side entry body gaskets are simpler because the bolting load is distributed around the full circumference of a joint that’s perpendicular to the pipe axis, which is a naturally self-aligning configuration. I’ve seen more bonnet gasket leaks on top entry valves in the first year of service than body gasket leaks on side entry valves over their entire service life.
Welded body valves eliminate the body gasket entirely. The body is a single piece of forged or fabricated steel with the ball and seats installed through a bore that’s then welded shut. There’s no bolted joint to leak. This is the standard for subsea valves, buried valves, and any application where external leakage is absolutely unacceptable and access for maintenance is impossible anyway. The disadvantage is that welded body valves cannot be serviced. If the seats wear out, the valve has to be cut out and replaced. The valve body is essentially a consumable. For above-ground installations with reasonable maintenance access, the maintainability of a side entry valve almost always outweighs the leak-proof advantage of a welded body. Forged ball valves with side entry bolted construction combine the pressure integrity of a forged body with the serviceability of the side entry design.
Fire-safe design and the body joint
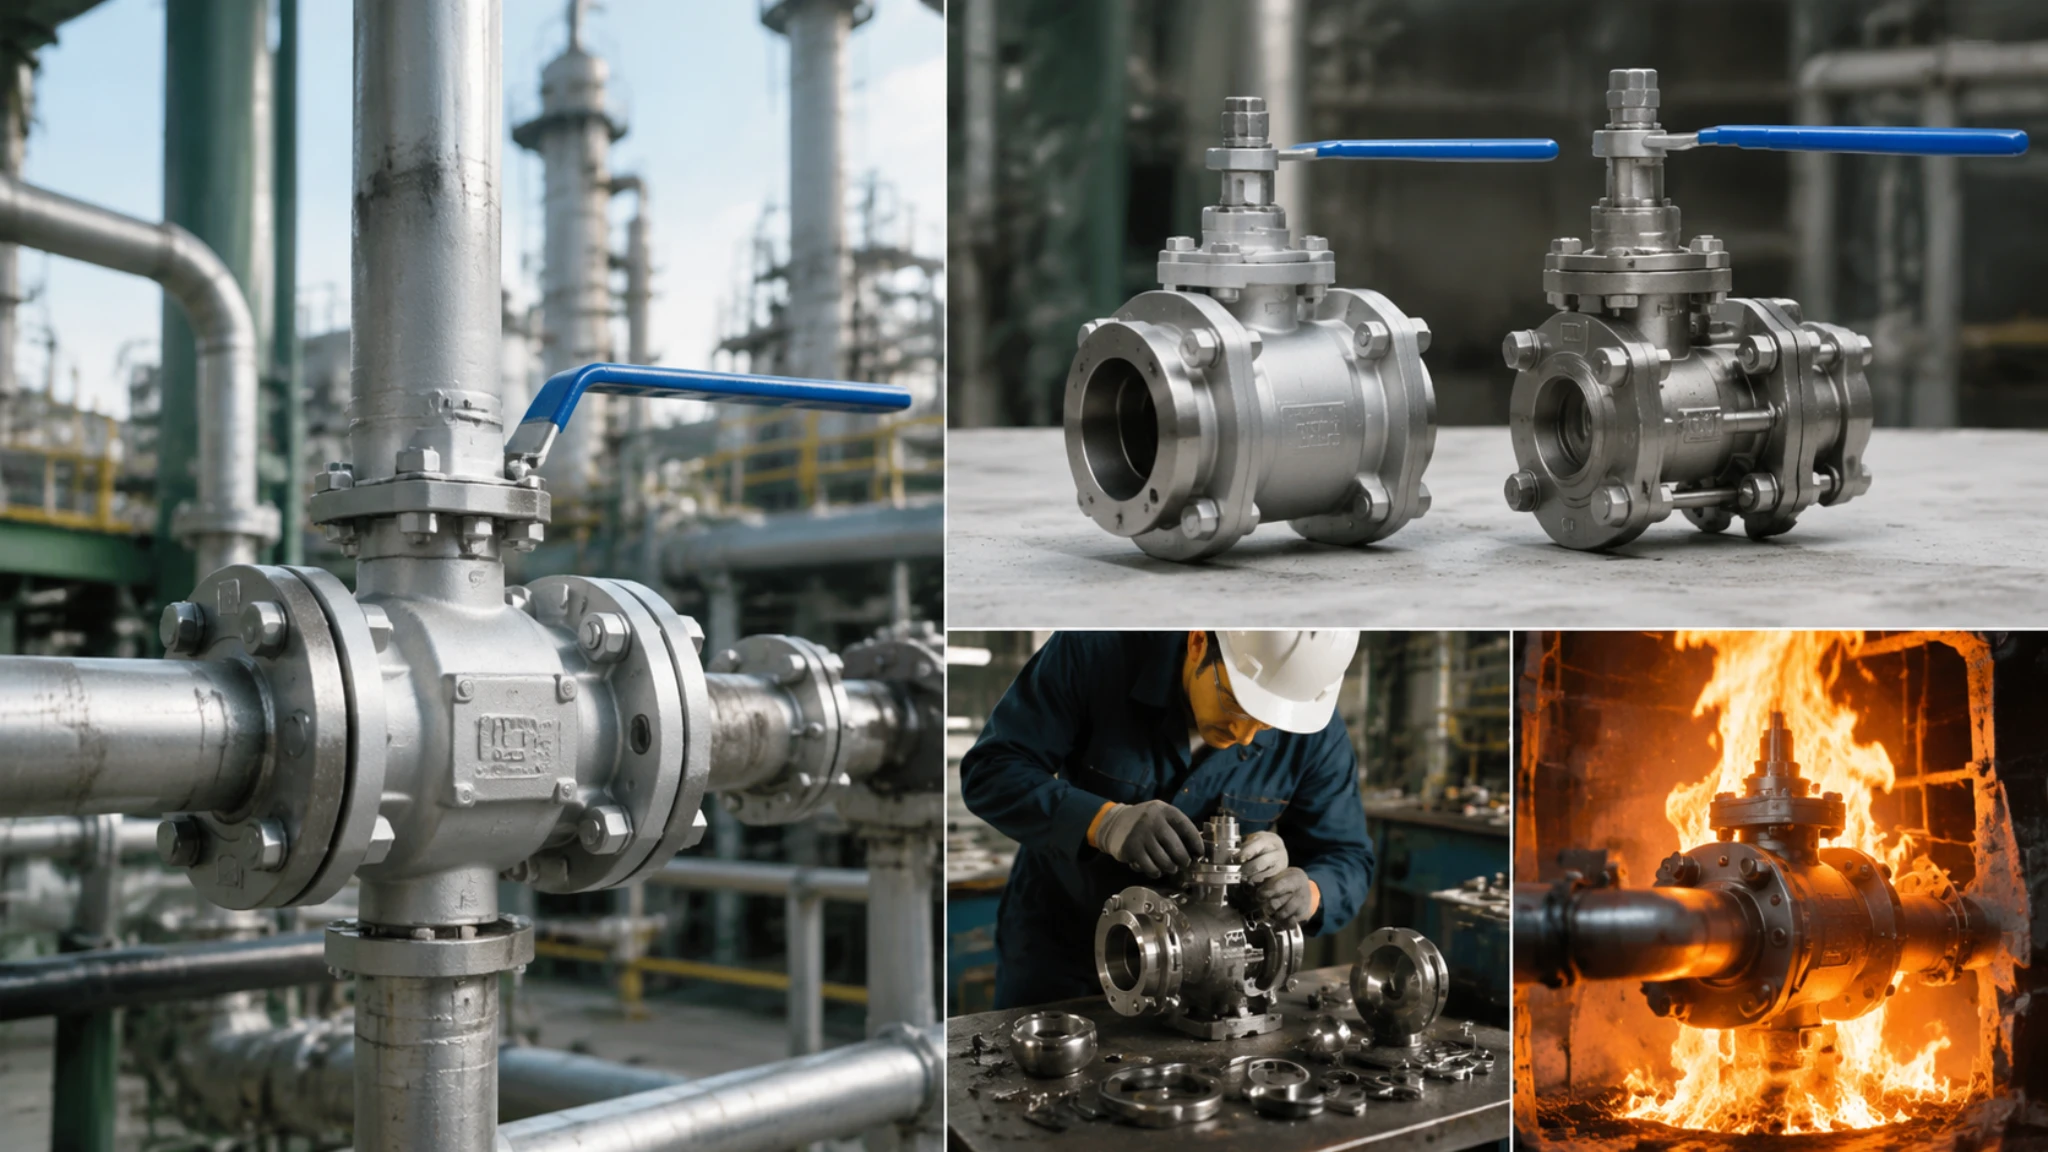
The bolted body joint on a side entry valve is the weak point in a fire. When the valve is exposed to a hydrocarbon fire at 760°C for 30 minutes under API 607 fire test conditions, the soft PTFE or PEEK seats burn away, the graphite body gasket expands and oxidizes, and the bolting loses about 30-40% of its preload due to thermal expansion. The fire-safe design has to maintain containment through all of this.
API 607 and API 6FA fire-safe certification for side entry valves requires specific design features at the body joint:
- The gasket must be spiral-wound with a graphite filler, not PTFE (PTFE burns out within the first minute of fire exposure).
- The bolting must be ASTM A193 B7 or B16 grade with sufficient diameter and quantity to maintain clamp load at 760°C.
- The body flange must have a metal-to-metal contact feature – usually a raised lip on one face that contacts a flat surface on the other face – so that when the gasket burns out, the metal-to-metal contact provides a secondary seal.
After the 30-minute burn at 760°C, the valve gets quenched with cold water, and the thermal shock can crack the body flange if the wall thickness transition from the body to the flange isn’t gradual. A poorly designed side entry valve might pass the burn test and fail the quench because the flange-to-body radius has a stress concentration that thermal shock exploits. The API 607 test report should include post-quench body joint inspection. If it doesn’t, ask for it. Soft seated vs metal seated seal selection in fire-safe side entry valves almost always requires metal secondary seals because the soft seats are the first thing to go in a fire.
Maintenance: what the side entry design makes possible
The whole point of side entry construction is that you can service the internals without cutting the valve out of the line. But “serviceable in line” doesn’t mean “serviceable by anyone without the right procedure.” The body flange on a 12-inch Class 600 valve has 16 to 24 bolts, typically 1-1/4 to 1-1/2 inch diameter, torqued to 600 to 800 ft-lbs each. The bolt tensioning procedure matters. If you loosen the bolts in a random pattern instead of the specified sequence, the body can shift, pinch the gasket, and damage the sealing surface on the body flange. If you over-torque the bolts on reassembly, you can yield the bolting, and the preload drops below the gasket seating stress within the first thermal cycle.
Correct disassembly procedure:
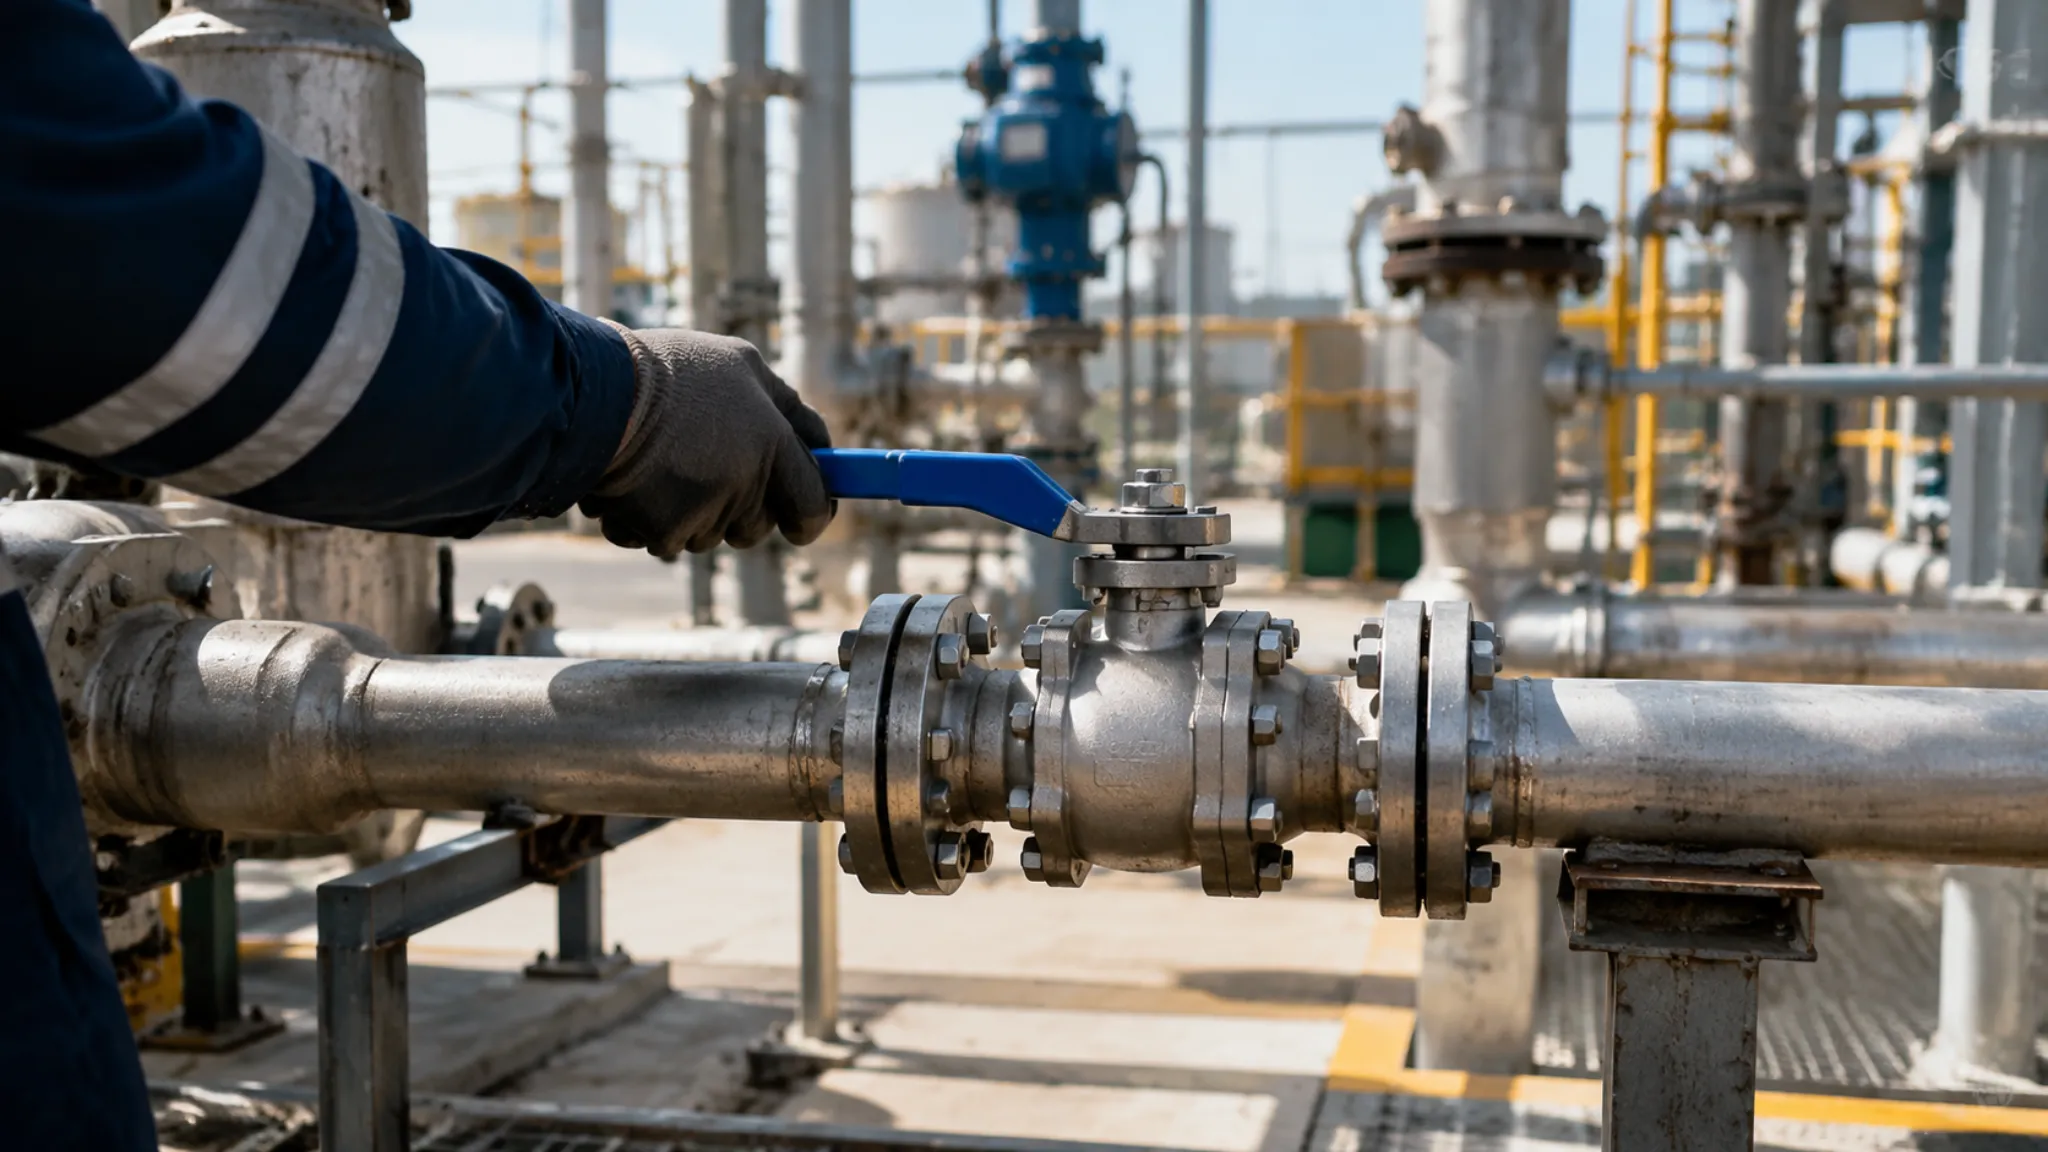
- Verify zero pressure in the body cavity through the vent port. This sounds obvious. It’s the step that gets skipped and kills people. The body cavity can trap pressure even when both upstream and downstream valves are closed and the line pressure reads zero at the gauges, because thermal expansion of trapped liquid can pressurize the cavity to thousands of psi. The vent port must be opened, the cavity pressure vented to zero, and the vent left open during the entire disassembly process.
- Loosen bolts in a star pattern, typically in three passes: loosen each bolt 90 degrees on the first pass, 180 degrees on the second, and remove on the third. This prevents warping the body flange.
- After disassembly, inspect the gasket seating surfaces with a straight edge and feeler gauge. Any surface defect deeper than 0.1mm on a spiral-wound gasket seating surface needs to be dressed or the flange refaced.
- Never reuse the old gasket. A new gasket goes in dry unless the manufacturer’s procedure specifies a light coating of anti-seize compound.
Correct reassembly procedure:
- Apply torque following the same star pattern as disassembly, in three passes: 30% of final torque on the first pass, 60% on the second, 100% on the third.
- After 24 hours, re-check the bolts because the gasket relaxes and the preload drops by about 5-10% during the first day.
- After the first thermal cycle, check them again. If the facility skips the 24-hour re-torque, the probability of a body gasket leak within the first year goes up by about a factor of three.
Ball valve maintenance procedures for side entry valves should include the full bolt tensioning sequence with torque values and re-inspection intervals.
Common failure modes specific to side entry
The body gasket is the unique failure point for side entry valves. Gasket failure usually presents as a small external leak at the body split line, often first detected as a stain, a drip, or a hissing sound. The causes are typically incorrect bolt preload, thermal cycling beyond the gasket’s recovery capability, or corrosion of the gasket seating surface.
- Over-compression during assembly: Spiral-wound gaskets rely on the metal winding to provide the spring-back that maintains seal compression as the bolting relaxes and the body expands and contracts. If the gasket is over-compressed during assembly – usually because someone used an impact wrench instead of a calibrated torque wrench – the metal winding is crushed beyond its elastic limit. The gasket won’t recover when the bolt preload drops, and the leak path opens. The torque specification on the manufacturer’s drawing exists for a reason. An impact wrench doesn’t know what that specification is.
- Body flange corrosion: If the valve is in an outdoor installation where rainwater collects between the body flanges, corrosion can attack the gasket seating surface from the outside. Stainless steel body flanges resist this, but carbon steel flanges in a marine environment can lose 0.5-1.0mm of material per year to atmospheric corrosion if not protected. A properly specified side entry valve in an outdoor marine environment should have the body flange area coated with the same corrosion protection system as the rest of the valve body, and the coating should be inspected at the same interval as the rest of the valve.
- Bolt galling during reassembly: This is a common problem on stainless steel body bolting. Stainless steel bolts and nuts can gall – essentially cold-weld – if they’re assembled dry and the threads are clean. The bolt seizes halfway through torqueing, the torque reading spikes because the thread friction has gone through the roof, and the actual bolt preload is maybe 40% of what it should be. The fix is to use an anti-seize compound rated for the service temperature on all stainless bolting, and to replace the bolts and nuts as a set if any galling is detected during disassembly.
Common ball valve failures including body joint leaks are preventable with proper bolting procedures and anti-seize application.
When side entry is the right choice
For the vast majority of above-ground pipeline applications from NPS 2 to NPS 48 in Class 150 through 2500, side entry is the correct body style. It’s what the industry has standardized on for good reasons: proven manufacturing, proven maintenance procedures, competitive pricing from hundreds of manufacturers worldwide, and a service network that knows how to work on them.
Choose two-piece side entry for standard pipeline isolation valves where in-line maintenance is not expected. The cost is lower, the weight is lower, and the single body gasket is less to maintain.
The valve will likely never be opened in its service life, and if it does need service, the line is probably being shut down for other maintenance anyway, so cutting the valve out is not a significant incremental cost.
Choose three-piece side entry for applications where in-line maintenance is expected because of aggressive process conditions or safety-critical isolation requirements. Refinery isolation valves, compressor station valves, and valves in hydrogen service all benefit from the ability to service the internals without cutting the valve out of the line. The cost premium is 20-30%, but it pays for itself the first time you avoid a pipeline cut-out.
Choose top entry only if the installation location has zero axial clearance for spreading a side entry body and sufficient vertical clearance. This is a space-driven decision, not a preference-driven one.
The industry trend is toward side entry wherever possible because the fewer bolted joints a pressure vessel has, the fewer potential leak paths exist.
Choose welded body only for subsea, buried, or otherwise inaccessible installations where maintenance is impossible regardless of body style. The cost premium for a welded body is significant – typically 50-100% more than side entry – and the valve is a consumable. That’s acceptable when the alternative is a bolted joint that could leak at 3,000 meters water depth where nobody can reach it to tighten the bolts.
The North Sea valve I mentioned at the beginning? After the 14-hour seat replacement, the crew bolted the body back together following the star-pattern torque sequence, waited 24 hours, re-torqued, hydro-tested the body joint at 1.5 times rated pressure, and put the valve back in service. The cavity vent check three months later showed zero pressure buildup. The seats were sealing perfectly. That valve is still in service today, seven years later, with two more seat replacements done the same way. The side entry design didn’t just save a shutdown. It turned a potential five-day outage into a maintenance task that could be planned and executed on a regular shift. That’s what side entry is for.


")